Home
About Us
Contact
Log in
Current Issue
Explore
Articles by Issues
Articles by Topics
Articles by Writers
STEM/STEAM Resources
FAQs
Articles by Issues
Articles by Topics
Articles by Writers
The Latest
View All
April 7, 2024
Update: Your beanz Magazine Subscription
April 1, 2024
Can AI Find Clues to Aliens?
April 1, 2024
Code a Choose Your Adventure Game
April 1, 2024
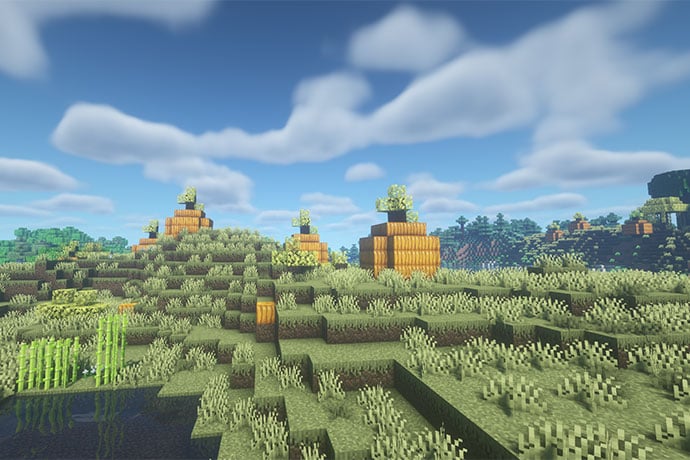
World Gen Mods Ramp Up Minecraft Play
dark mode
light mode
Search
Menu
Search
Search
Beginner
Computer Programming Projects & Puzzles for Kids
June 1, 2018
Godot 3
Clarissa Littler
Writer Emeritus
COM SALUD Agencia de comunicación on Flickr
Related Posts
01.02.24
Anne-Marie Imafidon, Stemettes Founder
Bianca Ferrari
Contributing Writer
01.02.24
Create a Keyboard with PureData
Eryn Spicer
Contributing Writer
01.02.24
Become a Citizen Scientist
Tim Slavin
Staff Writer
01.02.24
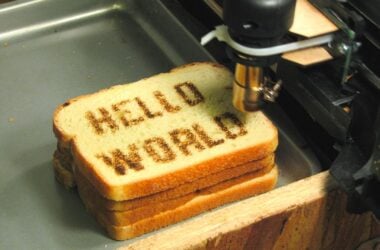
You Say, “Goodbye”, I Say “Hello World!”
Tim Slavin
Staff Writer