
Over the past few years 3D printers have made their way into classrooms, offices, and homes around the world. At the same time, laser cut products abound on the web and in shops.
Have you ever wondered if someone without formal training, or even without one of these machines, can design their own projects and print them out? As it turns out, the basics can be learned in a few hours, even by those of us without a background in computer aided design.
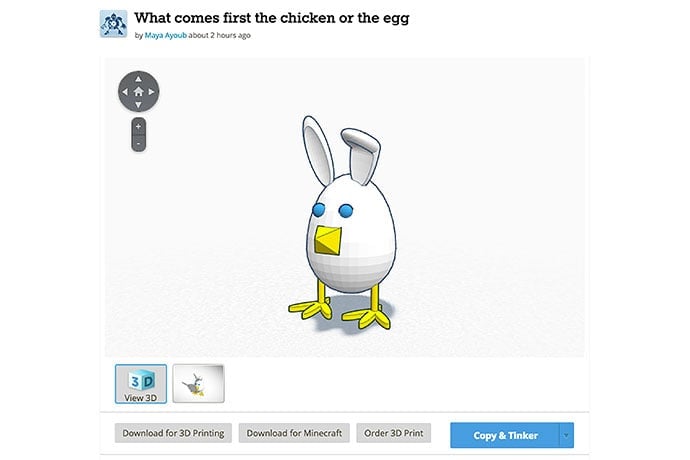
There are many applications available that allow children and adults alike to design their own creations.
One free, easy-to-use, option is Tinkercad. Tinkercad is created by Autodesk, the makers of many powerful software tools, the most well-known of which is likely AutoCAD. While AutoCAD is great for engineers and others with the time and money to invest in learning to navigate such a powerful software, Tinkercad might be a better starting point for families and educators looking to design relatively simple products.
To begin, visit tinkercad.com and create a free account. Most of the available tools are located in the righthand margin. They include geometric shapes, letters, numbers, and other common symbols. Under the Helpers menu there is a handy ruler that facilitates changing the dimensions and orientation of any object dragged onto the workspace.
The other features and keys used to create most projects are listed below:
align — used to line up objects or reflect them (mirror)
group — used to join separate pieces into a single object (this is necessary before they can be printed or cut as a single unit)
hole — make any object into a hole; grouping a hole with another object creates a hole of that shape within the object
undo arrow (or command z) — extremely useful for fixing errors
control d — duplicates an object
arrow keys (on the keyboard) — used to move an object precisely in a given direction; each click of an arrow key moves an object one millimeter
With the six tools listed above, just about anyone can create and print or laser cut a variety of fun products including personalized keychains, automata, lego-compatible blocks, tools, utensils, toys, and creative designs.
In addition to being a user-friendly software tool, Tinkercad also facilitates 3D printing and laser cutting by allowing designers to either download their work to their own computers and print from home if a machine is available, or else by uploading designs directly to one of their five 3D printing partners.
To have designs laser cut, in the Design menu under Download for 3D Printing, there is an option to download for laser cutting. From there the file needs to be imported into a software that supports .svg files. Inkscape is a free option, Adobe Illustrator and Autodesk Graphic are two of many pay-to-use options. Designs can then be uploaded to a laser cutting service such as Ponoko and will be cut and sent out within a week.
To get a feel for the process, choose a couple of the shapes provided in Tinkercad and group them together. To keep the cost low for your first project, give them dimensions under 100 millimeters long and wide, and less than about 20 millimeters in height (thickness). Try sending the design to a laser cutter or 3D printing service just to get a feel for the options available and the pricing.
Ponoko lists several tips for successful printing and cutting to help keep costs down at the beginning, and within a couple hours you can have a simple creation ordered and shipped for under $10. Those interested in keeping it free and on the computer can quickly move on to more complex projects and even upload creations directly into Minecraft or Thingverse.
What about adding to the shapes that Tinkercad provides?
As Tinkercad is web-based, all objects are originally created using JavaScript and those familiar with the language can use it to modify existing objects or create their own. Though more complicated than working with what is already provided, this is a great way learn or practice coding with instant tangible results. To start, find the Your Shape Generator menu in the right-hand margin and choose New Shape Generator. A list of shapes will appear. By selecting one of them you can view and edit the JavaScript that was used to create it.
Educators might be interested in Project Ignite, also created by AutoCAD, as a place to use Tinkercad in the classroom or with any group of students. Set up a classroom, have students or parents create accounts, and begin exploring tutorials for 3D design and electronics!
Learn More
Tinkercad
https://www.tinkercad.com/
https://www.tinkercad.com/about/learn
Autodesk
Inkscape
https://inkscape.org/en/download/
Adobe Illustrator
http://www.adobe.com/products/illustrator.html
Ponoko
http://www.ponoko.com/starter-kits/design-tips-2d
Thingiverse
Project Ignite
https://projectignite.autodesk.com/
JavaScript Shape Generator Overview
https://api.tinkercad.com/libraries/1vxKXGNaLtr/0/docs/topic/Shape+Generator+Overview.html
Modify a Shape with JavaScript
https://www.youtube.com/watch?v=ibMF8GbFCcw
3D Hubs
https://www.3dhubs.com/
https://www.3dhubs.com/how-to-3d-print