
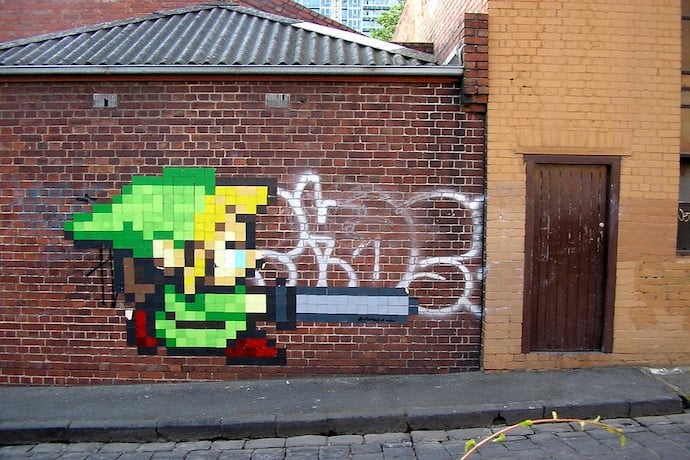
Have you ever played the original Super Mario Brothers? How about the original Zelda? If so you may recognize scenes such as the ones shown below:


Most, if not all, of the art in these images can be created using pixel art.
More recent games such as Terraria and Stardew Valley also make use of Pixel art. So what exactly is this blockish art form, and how can you get started using it in your own coding project?
To begin, consider the word pixel. It is a contraction of the words picture (pix) and element. This is an apt name, as a pixel is the smallest physical point on a digital screen. When computer games first started to appear in the 1970s, each pixel was still relatively large, making the creation of digital art for the games challenging. Outlines were blocky and colors were limited. Nonetheless, artists came up with creative ways to make recognizable characters and backgrounds. Programmers wrote code that controlled the placement and movement of the artwork, and computer games were a hit!
Today we have much more advanced software and video game graphics are far more life-like than what can be drawn with two dimensional pixel art. However, it is still an excellent way to quickly create artwork for a coding project. And with enough practice, pixel art can actually lead to incredible backgrounds and sprites.
Those interested in giving pixel art a try may enjoy a site called Piskel. For no charge, anyone can create a Piskel account, start making images and gifs, save them to their gallery, or download them for use elsewhere.

When you sign in to Piskel, you will notice there are quite a few tools and features. If you are new to pixel art, you can try out a few of the most commonly used by following the two examples below.
Pixel Tree:
We will test out the symmetry tool, color selector tool, pen tool, and paint bucket tool (and maybe the eraser tool if anything goes wrong), to make a simple pixel art tree.
Pixel art often looks nicer when we use 2-3 hues of the same color within a drawing. For the tree, choose three shades of green, and two shades of brown

We will use two hues of brown for the tree trunk, and three hues of green.
Select the vertical mirror tool and use the pen tool to draw the outline of the tree. As you draw one side of the tree, the other side will automatically be generated as a reflection over an invisible line of symmetry.


Divide the tree into a top, middle, and bottom section using the darkest hue of green that you selected. Use the paint bucket tool to quickly fill in each section of the tree. Try using the lightest/brightest shade on the top section, and the darkest shade on the bottom section.


Add a bit of a different hue of green to each section of the tree, and lighten up the trunk with a bit of the lighter hue of brown.

Tip: If you have trouble finding a color that you used before in the color picker window, use the color picker tool. After you select this tool, click on the color you want in your drawing. The color picker tool will “record” this, and apply it to the pen tool.

Upload to Scratch
Once you are satisfied with your drawing, save it to your gallery and download it to your computer. A simple way to incorporate your Piskel drawing into a coding project is to upload it into Scratch as a sprite (or create an entire background for Scratch!).

We uploaded our Piskel tree into Scratch and duplicated it many times to create the beginning of a pixelated forest.
2. Importing into Piskel
Even though it is fun to make our own creations in Piskel, sometimes we might not have the time or knowhow to draw what we want for a coding project. One way around this is to take a look at The Noun Project. There you can find a wide variety of icons representing a range of topics/objects. By downloading the icon of your choice (as a PNG file), and uploading it into Piskel, you can customize it with your own colors and modifications.
We searched for a puppy on The Noun Project, and selected this icon.

Next we downloaded the puppy icon and imported it into a new Piskel drawing.


Finally, we added color to the puppy using the paint bucket and pen tools.

Whether you create your own pixel drawings, or modify the drawings of others, Piskel is a fun way to get started with pixel art. If you enjoy drawing and coding, try creating pixel art of your own and animating it with some code!
Learn More
The history of Pixel Art
https://thehistoryoftheweb.com/pixel-art-sites/
Piskel
The Noun Project
Scratch
Pixel Art, past, present, and future
https://www.theverge.com/2014/7/3/5865849/pixel-art-is-here-to-stay
Pixel Art Tutorial
https://medium.com/pixel-grimoire/how-to-start-making-pixel-art-2d1e31a5ceab
How to make Pixel Art
https://www.adobe.com/creativecloud/design/discover/pixel-art.html
Pixel art examples
https://www.creativebloq.com/illustration/examples-pixel-art-2132036