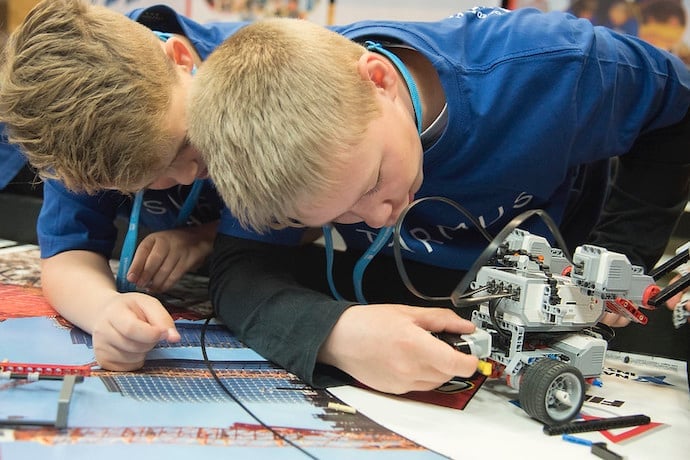
If your school has a Lego Mindstorms Club or if you have your own set at home, you have a new option to program your robot: MicroPython! MicroPython is a more condensed version of Python that is intended to be used on a variety of DIY boards and is perfect for those new to physical computing. You may have heard about it if you have used BBC micro:bits. Now, it is available to use with Lego Mindstorms!

To start, you can build a simple robot such as Lego’s Robot Educator – the Ultrasonic Sensor Driving Base version will be used in this example.
To get started with programming your EV3 with MicroPython, gather a Windows 10 or Mac computer (must have a SD card slot and Visual Studio Code installed), a microSD card with the EV3 MicroPython image loaded, a mini-USB cable and of course, your robot.
After installing MicroPython onto your microSD card, place tape on the end of the microSD card (to make a pull tab to easily remove it later) and insert it into your robot’s microSD card reader (the robot should be off). After the card is inserted, you may turn on the robot. It will take a minute or two for the robot to boot.


Next, you’ll want to create the program that will be run on the microSD card. Open Visual Studio Code on your computer and install the EV3 MicroPython extension. After doing that, open the MicroPython extension tab and click on Create a New Project. Give your project a name and choose a location for it to be saved. You’ll notice it contains a file named main.py which already has code needed to run your program. Do not alter or delete these lines. You can start writing your own code after those lines.
Lego provides some sample code in their MicroPython documentation that you can run or remix. Try typing the following code. The first four lines defines the motors being used and the Robot Educator’s specific wheel diameter and axle track (in millimeters). The fifth line creates the DriveBase object, used to specify the values needed to move the robot at the desired speed and distance. Do you think the code on line six will move the robot forward or backward? How long will it drive?
left_motor = Motor(Port.B)

right_motor = Motor(Port.C)

wheel_diameter = 56

axle_track = 114

robot = DriveBase(left_motor, right_motor, wheel_diameter, axle_track)


robot.drive_time(-100, 0, 2000)
To transfer your code, connect the EV3 Brick to your computer using the mini-USB cable and search for and select your brick. Once you’re connected to your brick, simply press the F5 key to run your program!
For more details and complete sample code for the Ultrasonic Sensor Driving Base model, click on Open User Guide and Examples under Create a New Project (while in the EV3 MicroPython extension in Visual Studio Code).
Learn More
Lego Education: Python for EV3
https://education.lego.com/en-us/support/mindstorms-ev3/python-for-ev3
How to Run Python on EV3 Brick
https://www.antonsmindstorms.com/2019/06/15/how-to-run-python-on-an-ev3-brick/
Getting started with python for Mindstorms
http://www.mow-bots.com/getting-started-with-python-for-mindstorms-ev3/
Lego Education: Building Instructions for Robot Educator
https://education.lego.com/en-us/support/mindstorms-ev3/building-instructions#robot
Micropython
https://learn.adafruit.com/micropython-hardware-sd-cards/micropython

