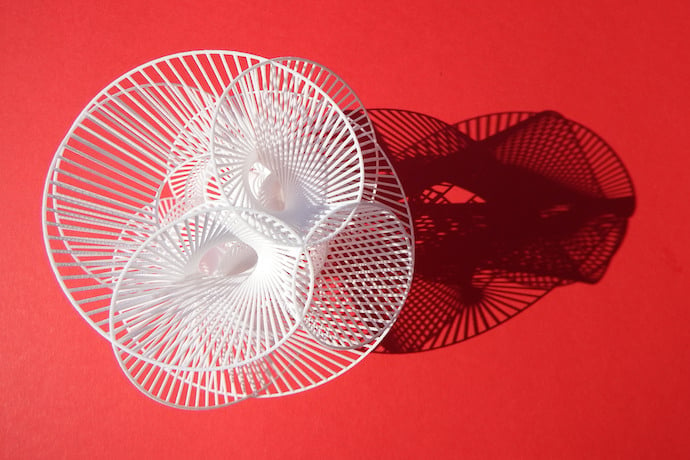
Turning a 2D drawing into a 3D creation is a great way to enter the world of computer models. Making a piece of jewelry could be as simple as putting pen to paper, or maybe, more accurately, stylus to touch screen. You can then take these models and 3D print them to bring your 2D drawing to life in a new dimension. Even if you’re not planning on 3D printing it, it’s fun to experiment with the software and see how you can take your drawing to the next level with 3D modeling.
Now there are a few different ways to go about this. All the ones below involve some special piece of software, but most come free online or on your computer.
1. Tinkercad
This free software is one of my favorites if you are new to 3D modeling and 3D printing. Hosted completely online, you can access it was just a free account from any computer. One of their coolest new additions is the ability to turn your “scribbles” into models. It is literally as easy as drawing on paper. I’d recommend using a touch screen compatible stylus, your finger, or pen with a touchscreen end on it to be able to get closer to an actual drawing experience, but you can also use the tool by creating lines with your mouse.
By combining this scribble feature with some of tinkercad other modeling tools, you’re sure to be able to create some fun new things. I challenge you to try to recreate some of the items around your house or drawings you may have made before in Tinkercad and give them new life.
2. Shapeways
The website known for offering 3D printing services also has some very cool apps that will allow you to easily turn your ideas into art. Some of the apps will automatically generate ornaments, bracelets, cookie cutters, etc, but the one I want to focus on will allow you to turn your 2D drawings directly into pendants.
First, create a black and white image in paint or any other simple photo creator. Then upload it to the website and edit a few simple things such as thickness or adding on a ring to transform it into a pendant. It’s very easy as long as you have well defined lines in your drawing. After completing your model you can then easily order from shapeways as well so you don’t have to even 3D print it yourself. Just make sure you’re not creating details that are too small to be able to show up in a print.
3. 3D Builder
This program is found on most new Windows computers, but you can also download it yourself. It requires a little bit more 3D modeling know how, but is still manageable for a beginner. The software acts similar to the way the Shapeways software does, requiring you to upload a black and white image and choose whether you want the model to be created from the black or the white space. You can then adjust the size and edit your design.
Although it will work best if you create the image on the computer, you can also try scanning in an image that you have already drawn. As long as the contrast is high enough between the colors, the software can pick it up.
Learn More
Microsoft 3D Builder
https://www.microsoft.com/en-us/p/3d-builder/9wzdncrfj3t6?activetab=pivot%3aoverviewtab
Shapeways
https://www.shapeways.com/creator
https://www.shapeways.com/creator/pendant
Tinkercad
https://blog.tinkercad.com/2018/04/26/introducing-scribble-the-ultimate-tinkercad-personalization-tool/
https://www.tinkercad.com

