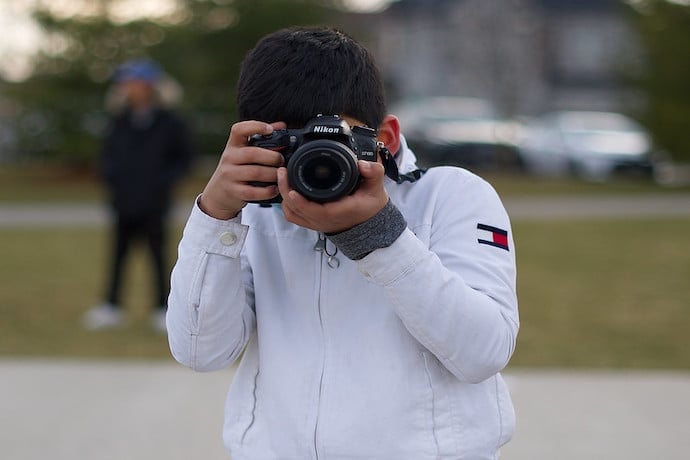
Let’s say you’ve taken some photos and you want to do something interesting with them, something weird perhaps? Or maybe you just have a ton of photos and you need to crop them all to the same size, convert them to black and white, and apply a sharpness filter and doing that by hand a hundred times sounds awful.
In either case, the photo editing tool you might want to reach for is Python. Yes, Python the programming language.
Python, in addition to being one of the most popular programming languages out there is also an amazing image editor thanks to the Pillow library which comes standard with most installs of Python.
Working with Pillow is pretty simple: you can from PIL import Image in a Python script and then simply open your photos with Image.open and then you’re ready to go.
From here, let’s show how to crop and save an image so that you grab just the center rectangle that’s half the size of the total image.
from PIL import Image
im = Image.open("yourFileNameHere")
(w, h) = im.size
im.crop((w/4,h/4,3*w/4,3*h/4)).save("cropped.jpg")
In words, what we do is
- Import the Pillow library and assign it the variable name Image
- Open the file using the variable im to hold the photo and use the Image variable (holding all the Pillow library functionality) perform actions like sizing, cropping, and saving.
- Find the size of the image you’ve opened, using the im variable and size function in the Pillow library
- Crop it by using a 4-tuple to describe the rectangle you want to crop: naming the points of the upper-left corner and lower-right corner of the image, using the im variable and crop function in the Pillow library
- Then, finally, we save the image again using the save function in the Pillow library.
From here, it’d be pretty easy to loop through all the files in a directory and crop all of them in just a few seconds! That’s hard to do without writing some code.
With just a few more concepts, though, we can do something truly weird.
We’re going to use Python’s built in randomness and the ability to paste images into each other to automagically collage a group of photos together.
To explain the program in words first, we’ll start by opening all the images we want and put them in a list. Then we’re going to create a blank image of a certain size with a randomly chosen solid color. Then we’re going to randomly choose the number of slices from photos we’ll take and, then, that many times we’ll
- choose a random photo out of the list
- choose a random rectangle to crop out of the photo
- paste that cropped image into the final image
Finally, we save the whole thing. Here’s the code here, with me writing a little helper function called randRect to make random rectangles.
from PIL import Image
import random
def randRect(maxWidth,maxHeight):
rx1 = random.randint(0,maxWidth/2)
rx2 = random.randint(rx1,maxWidth)
ry1 = random.randint(0,maxHeight/2)
ry2 = random.randint(ry1,maxHeight)
return (rx1,ry1,rx2,ry2)
images = [Image.open('...'),
Image.open('...'),
Image.open('...'),
Image.open('...'),
Image.open('...'),
Image.open('...')]
outImg = Image.new("RGB", (900,900), (random.randint(0,255),random.randint(0,255),random.randint(0,255)))
nCollaged = random.randint(15,40)
for i in range(0,nCollaged):
rI = random.choice(images)
(w,h) = rI.size
recty1 = randRect(w,h)
outImg.paste(rI.crop(recty1),recty1)
outImg.save("...")
And here’s an example of an image that was created from this collaging process:

We’ve barely scratched the surface of the kinds of things you can do in Python, though, because we can also do things like transformations on the individual pixels in an image! This opens up an entire world of photoprocessing to us.
For a fun, but perhaps silly, example of using the point function here’s a code snippet that takes an image and “compresses” the color so that the bright parts of an image are all slightly brighter and the dark parts of the image are darker.
img2 = img1.point(lambda i: i * 0.5 if i < 100 else 1.5*i)
which turns an image from

to

You can see how it creates a fun, yet gaudy, kind of smear effect on the image.
Learning more about the Pillow library is also a good opportunity to dig into code reading. The code base, available at https://github.com/python-pillow/Pillow, is relatively easy to follow. For example, looking at the various image filters in the ImageFilter.py file you can see that most of them are only a few lines of code long. You can easily play around and make your own filters and use them in order to learn more about photography!
So I hope this short introduction helps convince you that Python might be a fun tool for art & photography!
Learn More
turning photos into black/white/sepia using Pillow
https://www.blog.pythonlibrary.org/2017/10/11/convert-a-photo-to-black-and-white-in-python/
Intro to Python Pillow
https://kalebujordan.com/a-brief-introduction-to-python-pillow/
Animated gifs tutorial in Pillow
https://www.geeksforgeeks.org/create-and-save-animated-gif-with-python-pillow/
The official documentation on Pillow
https://pillow.readthedocs.io/en/stable/handbook/index.html
Pillow tutorial
https://zetcode.com/python/pillow/

