
Scratch, if you’ve never used it before, is a kind of programming language & interactive art studio rolled into one.
You can get to Scratch by first going to https://scratch.mit.edu/ and clicking on “Try it out”

You should see something like this:

There are a lot of pieces to this user interface, so we’ll cover them and the concepts one-by-one.
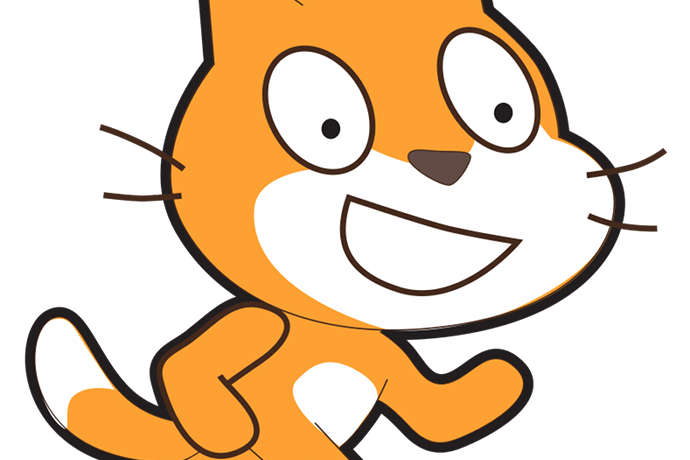
First, you’ll notice this little cat picture

This is a sprite. Sprites aren’t just pictures, though. In Scratch, they’re like little robots we can program. They can move around, change color, play sounds, and even respond to their “senses”. Sprites can also talk to each other in order to coordinate their actions. The big white space the sprite is sitting on is the stage. Under the Scripts tab are all the tools you can use to program your sprite.
- Motion includes ways to move the sprite around
- Looks change its appearance
- Sound lets it play noises
- Pen allows the sprite to draw as it moves so you can make pictures with your code
- Data is for storing information, like how many times the sprite has been clicked on
- Events are how the sprite knows when to do something or for sending & receiving messages from other sprites
- Control includes things like how to make the sprite repeat an action over and over again or make choices
- Sensing has code for the sprite to sense things like if it’s touching something or to see where the mouse is
- Operators are for math and logical operations
- More Blocks are for extensions to Scratch or to define your own reusable code, like functions in other programming languages if you’ve seen those before
Just to get familiar with it, we can do a very small program together.
If you’ve done some programming before, Scratch is going to be a little different than what you’ve seen before. Rather than typing your program, you’ll be combining these blocks together like lego blocks.
So try dragging, with your mouse, the move 10 steps bar onto the blank space like this

and do the same with the turn 15 degrees bar so that you have something like

Now, try clicking on either of these things. You should see that the little cat moves a little every time you click on the move block and that it rotates a little every time you click the rotate block.
How do we sequence these steps, though? In other words, how do we make one happen after the other? We combine them by dragging them together, so it’ll look something like

If you click on either of them, both things will happen. First movement, and then the turn. If we want to make it a little more dramatic we can change the amount we move and turn by clicking on the little numbers like this

Go ahead and give it a few clicks and you’ll see more clearly what happens. The cat should walk out the path of a big square.
We can add other sprites to program by clicking on the button in the pane just above the sprites

From there you can select other sprites from the existing library and add them to your scene. By clicking on the new sprite, you can program it separately.
How can you actually run this like a program, though? It’s not good enough to just make things work by clicking on them. Instead, let’s use an event. Drag the when (green flag) clicked to your little program and put it at the top of your code, like this

Now if you hit the green flag button you’ll make the cat move just like before.
To make things less boring looking, you can change the background or backdrop of the stage by clicking on the buttons just under the words “New backdrop”. There’s options to
- open a new backdrop from the options they give
- create a new backdrop yourself
- load a backdrop from your computer
- use a picture as a backdrop
There’s similar options for creating new sprites! You can program each sprite individually from each other. What about getting rid of sprites or unwanted code? To do that, you can use the scissors symbol at the top of the screen, which means “delete”. Click on the scissors and then click on the thing you want to get rid of, whether its code blocks or sprites.
Finally, you can save your programs to the computer using the “File” button at the top of the screen. You can also upload saved code from your computer. If you make an account, though, all the things you make will get automatically saved so you can access them from any computer.
Next time, we’ll cover making some small games and doing some actual programs in Scratch. Until then, try playing around with what you see here and following the tutorials available if you click “Tip” on the grey bar at the top of the screen. Scratch is good for playing around and seeing how you can stick code together with blocks. Maybe you’ll discover something cool!
Learn More
Scratch Official Site
Scratch Starter Projects
https://scratch.mit.edu/starter_projects/
Scratch – Explore Projects
https://scratch.mit.edu/explore/projects/all/
Code Club – Scratch Projects
https://codeclubprojects.org/en-GB/scratch/