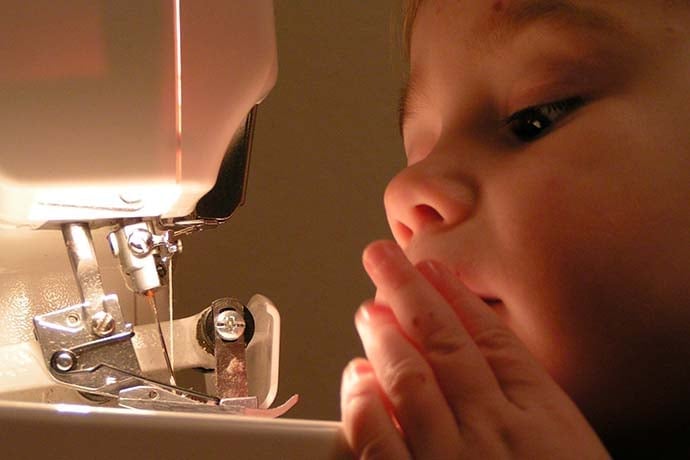
Young people usually do not get a lot of opportunities to use machines. But there is one machine that can often be found in the backs of closets, just waiting to be discovered: the sewing machine.
Growing up, I loved learning to sew. I was able to transform 2D fabric into a 3D creation that had a use. I credit this experience with helping me become an engineer.
A sewing machine was my first experience with larger machinery. Learning to control the speed with the pedal, changing the settings for my needs, and working with the needle were fantastic preparation for learning to use lathes and mills. Learning how a sewing machine works is a great introduction to how manufacturing works.
Additionally, with the rise in wearable technology and high tech fabrics, working with sewing and fabric can give you the chance to experiment with some new cutting edge technology. Fabrics are now being combined with lights, sensors and circuits, transforming clothes into the newest computers.
Read on to see how you can get started. Then check back in the next few issues for fun maker projects where you can combine sewing and technology!
If you are interested in buying your own machine, there are great starter models out there. These machines are made to be very user-friendly and will allow you to get to the next level. Check out the $39.99 Singer E-Z Stitch Toy Sewing Machine and the Haitral Sewing Machine Mini for $19.99.
Also, be on the look out for local makerspaces that have sewing machines. Many have been adding art and sewing into their tools, making them great places to learn.
Make Your Own Pillow (Adult supervision required)
Before you try sewing on the machine, first get used to handling a needle and thread.
Learn to thread a needle, pin fabric together, and how to cut fabric. You’ll need thread, fabric, sewing pins, a pin cushion, and stuffing for the pillow. First, pick a fun fabric from the store.
Felt is a good starter fabric. Buy 1 yard of this fabric so that you have extra in case you need it.
Steps:
- Cut two 18in x 18in squares.
- Place these 2 squares on top of each other with their “right sides” facing each other.
- Pin the 2 pieces of fabric together at all of the corners and in the center of each side.
- Cut a LONG piece of thread and thread your needle. (it’s always better to have extra thread
than not enough.) - Push the threaded needle through both layers of fabric about 1 inch away from the side. Pull extra thread all the way through.
- Repeat step 5 until you have gone around the whole edge of the pillow, but leave a 4-inch gap between where you started and where you end.
- Tie off your thread on both sides of your seam. Turn your new pillow right-side out.
- Fill your pillow with the stuffing to the firmness you would like.
- Sew your 4 inch gap closed. Your new pillow is done!
Learn More
Idea Room
http://www.theidearoom.net/simple-sewing-projects-kids/
Crazy Little Projects
http://crazylittleprojects.com/2014/01/25-beginnger-sewing-projects.html
So Sew Easy
http://so-sew-easy.com/fun-easy-sewing-projects-kids/
The Best Sewing Machine for Beginners
http://www.shelikestosew.com/best-sewing-machines-beginners/
Best Sewing Machines for Beginners
http://www.mysewingadventure.com/sewing-for-beginners/

