


The Raspberry Pi is a really cool piece of hardware, a tiny low-power $35 computer that’s roughly as capable as a desktop computer from the ‘00s. With a computer so small & portable you might not even have it connected to a mouse, keyboard, or a monitor. I have one sitting in my apartment, connected to the tv, the router, and a tiny external hardrive where I keep all my music and archives of movies.
When I need to operate the pi, I could attach a keyboard & mouse; but that would be work. A much easier way to run programs on my Pi is to connect to it remotely from my laptop and control it from the command line.
That’s my awkward transition to saying that in this article we’ll be giving an introduction to using the command line in Linux, with a special emphasis on the things you’d need to know to administer a Raspberry Pi.
First off, for this article I’m going to be assuming you either have a computer running Linux or Apple’s OSX in front of you. Windows has its own command line interface that’s different enough from Linux or OSX that a lot of things we’ll be talking about don’t apply. Further, this article is mostly focused on Linux because that’s almost always what’s installed on the Raspberry Pi. OSX is closely enough related to Linux that its command line is basically the same.
The first thing you need to do is open a terminal. On both Linux and Mac there should be a program called “terminal” or possibly “terminal emulator”: Open it and you should see something that looks like the following:
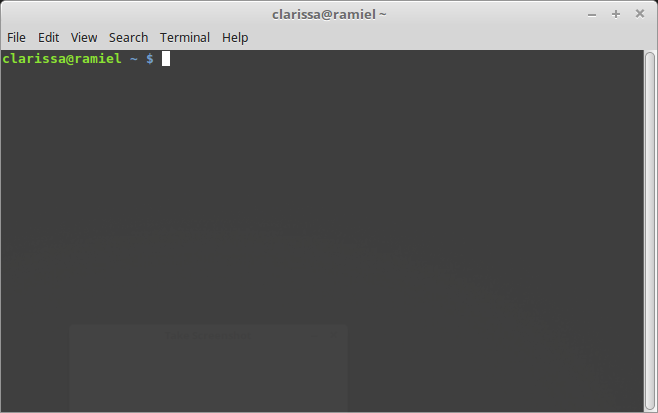
What do you do from here? Well, for your very first command type ls at this command line and hit enter. You should see a list of files in the current directory.
In my case it looked like:
Here’s a little note of terminology (more like terminal-ogy, eh??): If you’re used to use a graphical interface on a computer you might think of the containers that hold all your files as “folders”. When you read documentation about command-line interfaces you’ll see people call them directories instead, which is the terminology I’ll use in this series of articles.
Our next command is cd, which stands for change directory. This is our first command needs to be given an extra piece of data, called an argument. On the command line, commands are separated from their arguments by a space.
So if I want to move into the directory called “Documents” then I would type:
cd Documents
Now is the time to introduce a nice little shortcut that will save you a lot of typing: the tab key functions as an autocomplete at the command line. So all I need to type is “cd Do” and hit tab and then it turns into cd Documents/. There are a few other small shortcuts related to files and directories that you might also find useful.
First, that the tilde, which is the “~” character on your keyboard, stands for your home directory. So I can say…
cd ~/projects
…and the computer understands it as:
cd /home/clarissa/projects.
In order to go up one level in the directory structure you can type cd .. (two periods with no space between them). In general when dealing with directories in Unix/Linux/OSX the “..” means “the directory that contains the directory I’m in”.
This might be a good time to try moving between directories and looking at what’s in them with the ls command, getting a feel for navigation at the command line.
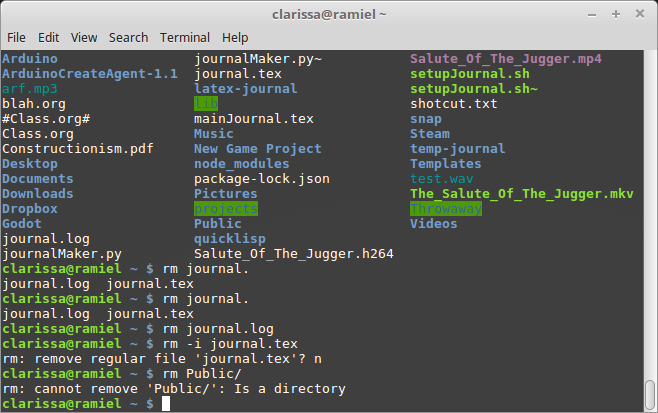
Next, let’s talk a little bit about optional arguments to commands. I can type “ls” to see a basic view of all the files in a directory, but I can also type ls -s to see not just the names of the files but their size, or ls -a to see all the files, even the hidden files and directories that contain extra data and configuration for the programs on your system. For example, if I type “ls -a” in my home directory I see this:

Most commands have these optional arguments, and the general rule is:
- Optional arguments start with a dash and one or two letters or
- Optional arguments start with two dashes (–) and are followed by a word
Often there’s both a shorter and a longer way of specifying optional arguments. For example, “ls –all” and “ls -a” do the same thing.
Now we’re going to introduce three more commands to round out your file system skills: rm to remove files, mv to move files, and cp to copy files.
The rm command is both straightforward and dangerous. You can use it to delete a file or directory permanently. I recommend that while you’re new to the command line you should always call “rm” with the “-i” argument for “interactive”. This will ask you about each file before deleting it. If I have a file called “OMGTerribleFanFic.txt” then I can delete it with rm -i OMGTerribleFanFic.txt. If I want to delete a directory, like a directory called “TerriblePhotos”, then I’d type rm -i -r TerriblePhotos; the “-r” stands for recursive and is needed to get rid of entire directories.
The “cp” and “mv” commands copy and move files, respectively. You can say cp thisFile thatFile to copy a file or mv thisFile thatFile to move it instead. You can reference the entire directory structure in these commands, like mv ~/Videos/cats_being_weird.mp4 ~/Dropbox/bestcatever.mp4. You don’t have to do anything special in order to move a directory, but to copy a directory you have to say “cp -r” just like removing a directory.
Finally, here’s a little trick to let you handle a bunch of files or directories at the same time: wildcards.
At the command line you can reference a bunch of files at once by typing an asterisk, which is the * symbol. If you type mv Videos/*.mp4 Dropbox/. you’ll move every file that ends with “.mp4” from the Videos directory to the Dropbox directory with the same file name.
That wraps up our introduction to using the command line. Now you know enough to handle basic file management, which is very useful. Next time we’ll talk about calling other programs from the command line, editing files from the command line, and doing some more system administration.
Learn More
A good tutorial that takes a faster pace
The “man” command (short for manual)
https://linux.die.net/man/1/man
Bash
The command line has a programming language built into it so you can write programs that behave like the built in commands.
https://ryanstutorials.net/bash-scripting-tutorial/